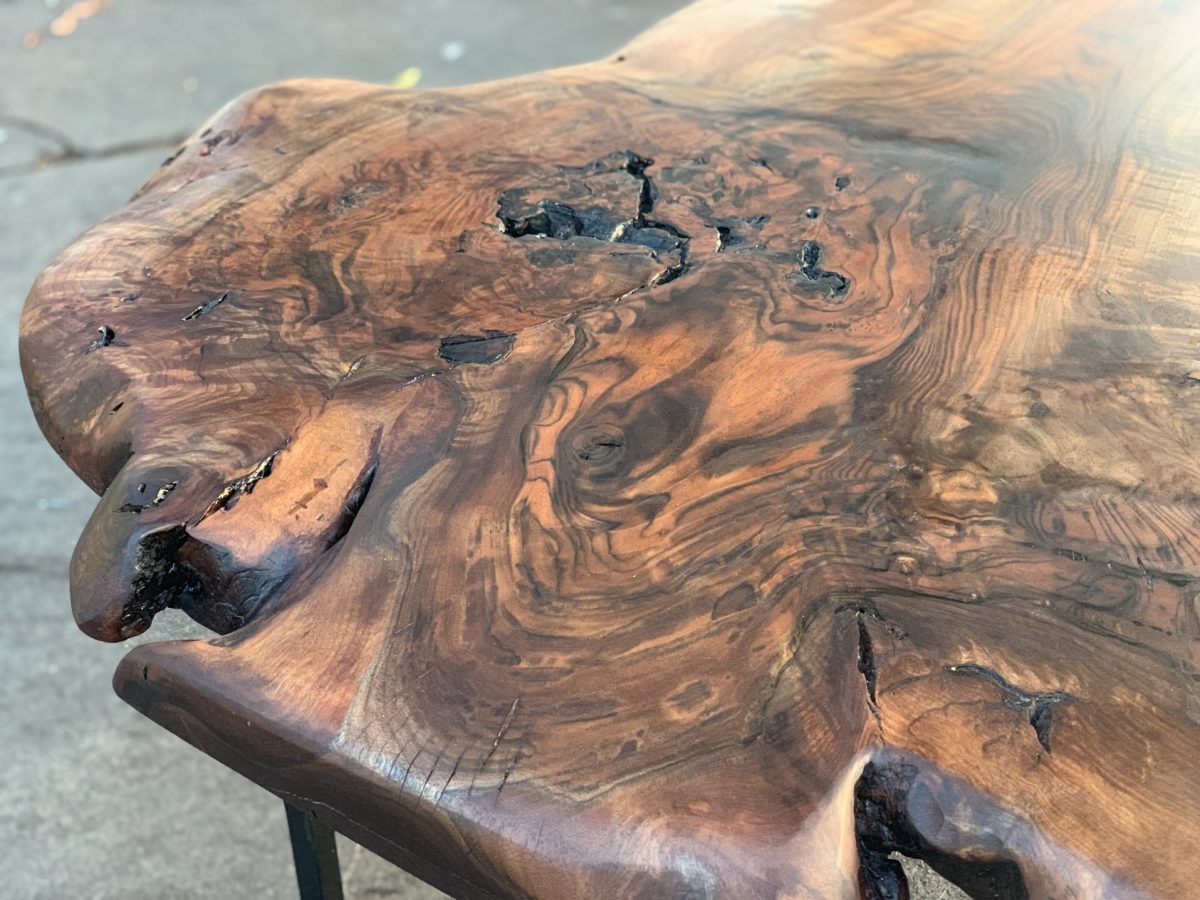
With live edge wood, each slab is utterly unique, offering its own unparalleled natural beauty. This wonderfully distinctive quality, however, can sometimes make working with live edge wood a little challenging. Since live edge wood is a bit of a different animal, here are some helpful tips that will hopefully keep your live edge wood projects trouble-free, as well as easy on the eye.
Just a thought for planning purposes…Creating a waterfall effect – with your grains traveling from top to bottom – is a wonderful way to add another layer of beauty to this gorgeous wood.
Changing topics – for just a moment – from beauty to simplicity…Before you begin, it will make things easier if you sand any places that will be hard to reach once your live edge wood project is assembled.
If you like the look of live edge wood with its bark, just make certain that you have securely glued any loose pieces of bark before you begin your project. If you have decided to remove the bark, an awl or a chisel can help with any hard to remove sections. With bark removed, edges can be cleaned up nicely with a wire brush. Just remember to use light strokes to leave the natural beauty of your live edge wood intact.
No matter how well you miter your joints, live edge wood may not provide you with a perfect match. If your cuts are smooth, you should have a tight fit. If you have any gaps, simply use a block plane to remedy the situation. You can blend dry mitered edges by gently chiseling and/or sanding.
To bring out the beauty of live edge wood and provide a nice layer of surface protection, wipe your building project with a few coats of polyurethane when it is complete.
Live edge wood is available at M & M Enterprises, your local lumber yard.

