Why would you want to purchase a boring, cookie-cutter frame, when you can create your own more beautiful, unique frame for less money? I have no idea! Picture this! You can very easily make your very own custom picture frame from wood trim! Not only is this a great idea for aesthetic purposes, but if you have a picture that is not a standard size, sometimes it is hard to find a frame to fit.
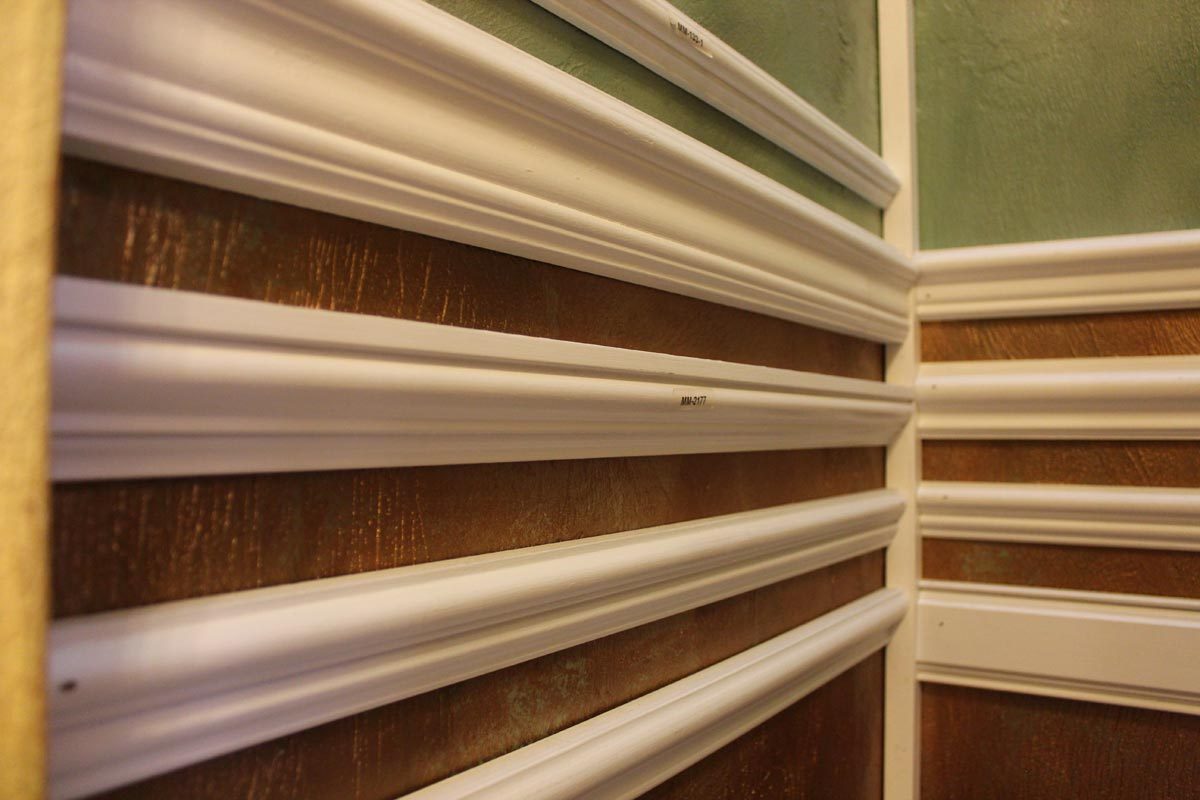
So, let’s begin! First things first…and I find this part to be the most fun. Choose your trim. Today, there are countless gorgeous trim styles from which to choose. Go for traditional, rich looking plain, wide trim or, if it suits your style better, choose a trim carved with ornate designs. Better yet, place a thinner piece of ornately decorated trim over a larger, flatter piece of trim to add dimension!
Here’s what you need to do. All you really need is your trim, some wood glue a few nails and a miter saw. If you decide to create the double-decker frame mentioned above, just glue your more decorative trim on top of the wider piece of trim, and reinforce it with a few brad nails here and there. After your trim has been prepped and dried, use your compound miter saw to cut the edges on 45 degree angles, so they fit into each other. If you like, you can also use a rabbeting bit on the edges so the picture sits down in the frame a bit. Then glue, clamp and let dry overnight. Mount your photo to foam core and pop it right in! It’s good to secure your picture with some brad nails so that it doesn’t fall out. If you want to take it up a notch, you can even inexpensively purchase glass cut to size at your local glass shop. All you need for stable hanging is a hangman picture hanger on the back. Leave your wood natural or paint, glaze or stain it.
Voila! You now have a picture-perfect frame!