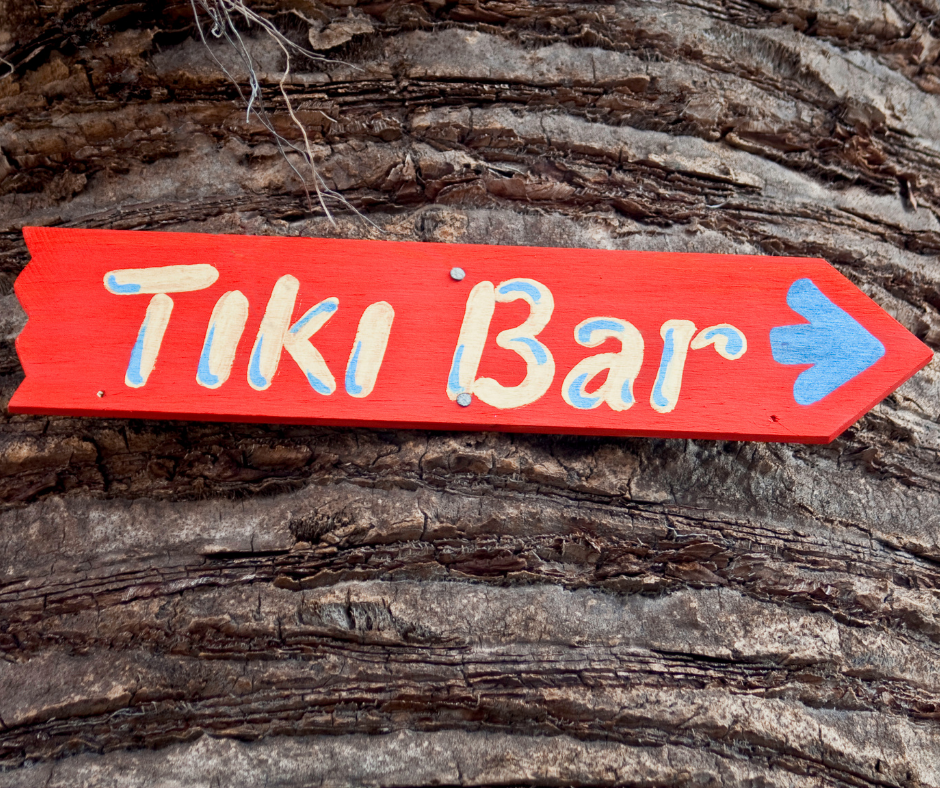
If now isn’t the perfect season to park yourself in front of a tiki bar, I am just not sure what is! So here’s everything you need to know for a do it yourself tiki bar construction project…
You can make your tiki bar any size, but a lice sturdy frame can be constructed by using L-brackets to affix 36” x 48” plywood pieces to the sides of a 60” x 48” piece of plywood. You can also add a 60” x 36” shelf for convenience and stability.
To add your roof, attach 2’ x 4’s to your corners and place another piece of plywood on top using wood screws. Measuring that top piece of plywood to provide for extra overhang is suggested to avoid moisture dripping on your guests…unless your guests are drips. No offense! We all have some.
To get that traditional tiki bar look, just cut some reed roll to length to cover the front of your bar. You can use that or place Mexican thatch on top to line your roof.
You can get some appropriate decorations – like Polynesian masks, fake parrots and such – at stores like Walmart, Target and online at Amazon. Adding string lights or flameless lanterns is a nice touch too. Then of course, stock up on rum, a bunch of fruit juices and maybe even those little umbrellas! To stock up on your lumber supplies, simply visit your local lumber yard – M & M Enterprises in Daytona.

